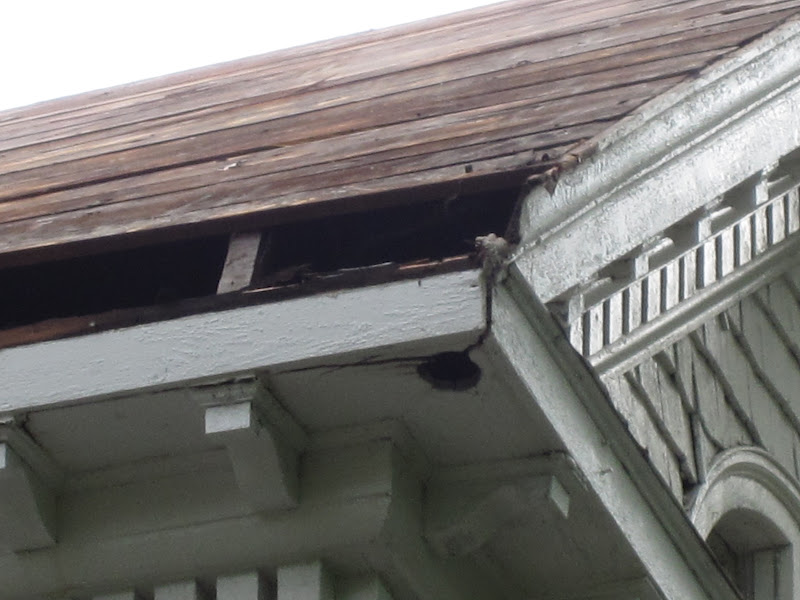
As we've come to find out, to no surprise, nothing original to this house is available in your local hardware store or even the specialty lumber mills in the area. What this means is we find the closest product available (such as the crown molding in the roof repair which has the same basic profile but is slightly less thick),
 |
| Missing crown from roof |
 |
| Newly primed close match to original crown |
change to an entirely different product (such as deck railing pickets since the deck is a new feature),
 |
| New deck, new pickets |
beg, borrow or 'steal' from areas of this house or another local house (thank you Garland house),
 |
| Old floorboards from our kitchen and Garland Street house sistered in to the back room |
pay an arm and a leg to have a product duplicated (the stair spindles are so unique),
 |
| 60 duplicated spindles ..... Ka-ching! |
OR
we make it ourselves (because, I've been told so many times and I am now beginning to believe it, "Carlie, there's nothing we can't do." - DLS).
So, make it we did. We purchased an outdoor handrail that was close in size to the existing original rail at the top of the back stairs.
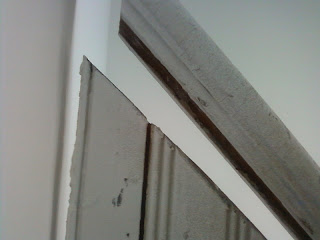 |
| Original handrail atop the bead board (2nd floor) |
We milled the rail to be close to the original.
 |
| Purchased fir rail with a portion of the right side bead cut off |
 |
| Using the table saw to remove the bead on each side of the rail |
 |
| The router will give us a curved side |
 |
| Clamping the rail before routing |
After installing the rail it was time to sand the peak off the top side of the rail (originally milled to be an exterior rail it required a peak to shed water).
 |
| A palm sander comes in handy for this task (Thanks Lucius for such an awesome gift years ago) |
*We are far from finished. Check the following posts for the magic of Bondo and the completed wall.