As I write this post, the balustrade is complete. (In fact, we finished it 5 days ago.) It has been a long involved carpentry project which was more time consuming than originally anticipated. In my opinion, it is the single most impressive project we've undertaken. Check it out in it's entirety in these earlier posts (
building posts,
in preparation,
part 1,
part 2,
part 3,
part 4 ) .
 |
| Gathering installation tools |
 |
| Centering the first baluster |
 |
| Leveling the first baluster |
 |
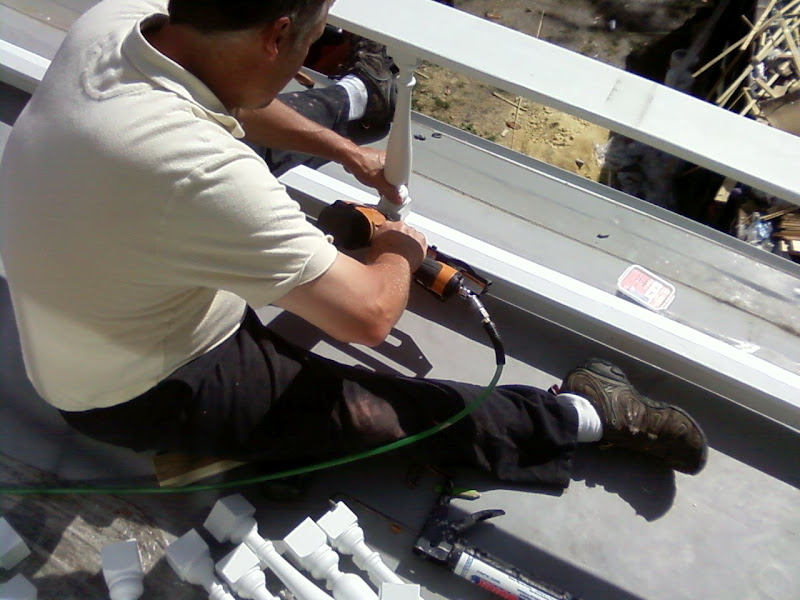
| Gotta love the nail gun |
 |
| 12 down , 228 to go |
 |
| A portion of the balustrade as seen through my bedroom window |
 |
| A block is used as a spacer in order to level and insure equal distance between each baluster |
 |
| Another block at the top lines up the balusters |
 |
| The power driver and brute strength are some of our best tools |
 |
| Each top rail (part of a 3-part assembly) is cut to size |
 |
A curved portion of the post is removed for a custom and snug fit
|
 |
| The cap from the original post is incorporated into the final post on the north side of the house |
 |
Balusters, rails, trim are all attached and ready for the painters to caulk
and give the new balustrade its final coat of paint. |
Satisfaction for a job well done.
* A photo of the completed balustrade to be revealed at a later post.


No comments:
Post a Comment