Do not misinterpret the title of this post. There are still MANY details to attend to here on Hawthorne Avenue. (We have not even begun addressing the exterior landscaping) Perhaps I should have titled this "The last big CARPENTRY project." No matter. We began tackling what we are calling our "last big project" this past weekend.
As the story goes, I have a long-standing aversion to bi-fold doors. Over the years on Warren Road, I have removed all but 1 set of bi-fold doors to make way for alternative designs. When the contractor who framed the bathroom addition mentioned he would enclose the laundry area with such doors I cringed. Wallace and I decided we might build a sliding door to separate the bathroom and laundry areas.
Although we have kicked all contractors out of the house while the floor guys work their refinishing magic, we have access to the house on weekends. This past weekend we began building the barn door.
 |
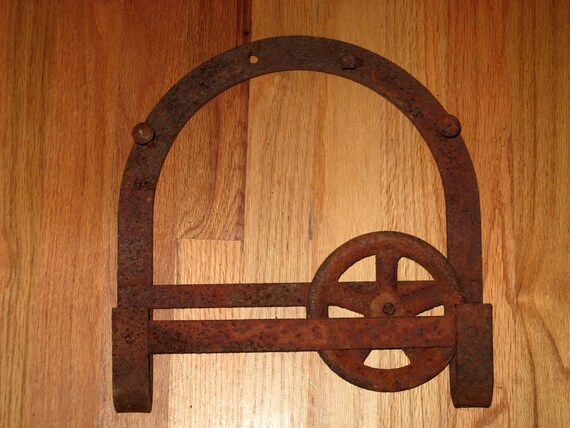
| Several months ago, Wallace found a set of antique iron barn door hardware online. |
Since
Caravati's wanted our radiators and other antique sundries, we held a bit of 'credit' in our pockets. One of the things Jimmy over at Caravati's did for us is restore this old hardware so we could use it.
Before building the door it was necessary to construct the support structure for the door. Using 1 x 8 poplar we began.
 |
| The picture molding is notched out |
 |
| Slightly widening the space between the baseboard and tile |
 |
| Cutting the mortise in the vertical board |
 |
| The mortise |
 |
| Attaching the barn track with lags |
 |
| Laying out the bead board atop the 3/4 plywood |
The opening the door must cover is 80 inches tall and 69 inches wide. Each bead board is squared on the ends and cut to 80 inches. Again we find a job for
Titebond III. We are putting that gallon jug to good use.
Each board is glued and screwed to the plywood backing.
 |
| Dozens of screws are put in through the backside along chalked lines |
 |
| Skill saw does the trick taking off the excess tongue and groove on one side |
 |
| Refurbished hardware is temporarily attached |
 |
| Completed door awaits painting |
*Return this weekend to view the door painted and hung


No comments:
Post a Comment